Harness your creativity and learn how to create a simple yet stunning seasonal spring bowl arrangement with our step-by-step guide.
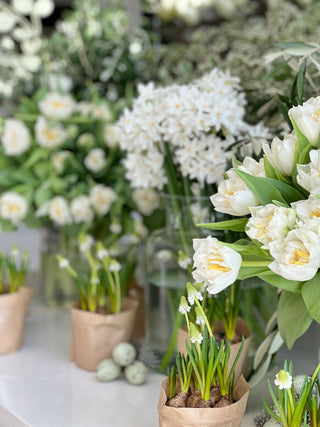
For me, spring is all about embracing the reawakening we see happening all around us in nature and making the most of the season with beautiful fresh blooms. I love finding ways to recreate the sights I see on our family walks at home, whether it’s a cluster of daffodils and snowdrops surrounded by lush green grass or the delicate flowers rising out of the ground in a wild meadow.
One of my favourite seasonal displays is a spring bowl arrangement. Not only is it quick and easy to assemble, but it also encourages creativity. Our ceramic footed bowl is wonderfully versatile; it looks just as effective on my kitchen windowsill as it does as a centrepiece on our dining table. The chicken wire base also means it’s simple to move stems into position, adjust, and play with different varieties until you’re completely satisfied.
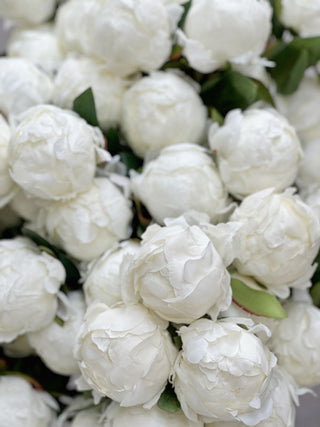
There are a whole host of spring flowers that suit this type of vessel, especially as most seasonal blooms have shorter stems. The choice is yours, but ranunculus, tulips, roses, and anemones are a few of my favourites.
Ready to flex your creative muscles? Follow my step-by-step guide to create your own spectacular spring bowl arrangement (and watch me take you through a real-time demonstration over on our Instagram):
The ingredients
- Footed bowl
- Chicken wire
- Pot tape
- Kenzan frog (optional)
Create a spring bowl arrangement
Step 1
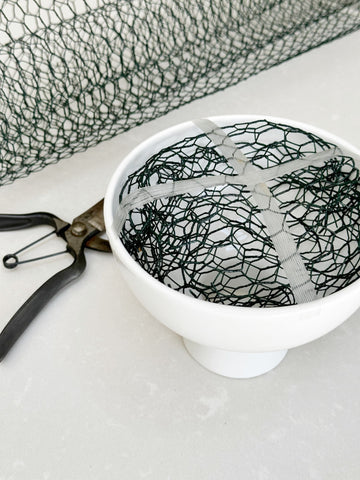
Start with your chicken wire this is a perfect sustainable option as it can be used over and over. Cut a generous amount and mould it into a rough cushion or dome shape with at least three to four layers. This should fit neatly inside your footed bowl and will provide the base support for your spring stems. You can watch me try this technique here.

Step 2
Next, take your pot tape and use it to secure the chicken wire in place. I find that a cross shape is often the strongest and I try to overlap each side by around a centimetre and a half. Once the wire is secured, fill the bowl with tepid water until it’s three-quarters full.
Step 3
Now, it’s time for the fun bit. I like to start with some green foliage like pittosporum, which will form the foundation of my overall design. I find it easiest to work face on and in situ so I can make changes as I work. Focus on the highest point of your design first.


Step 4
Once you’ve got the skeleton of your arrangement in place, you can start to add volume with flowers. I start with the biggest flowers – whether that’s roses, tulips, or another bold bloom - placing large flower heads at the base and then smaller stems at the top, while also saving some pieces to sit in the neck of the bowl and remove the boundary between flowers and bowl. Use the shape of your foliage as a guide.
Step 5
Next, place your most delicate stems. Again, start with the smallest flower heads at the top of the display and work down. For a truly naturalistic look that echoes a beautiful spring meadow, I love adding white blossom branches. I also like to vary the height of each piece and change the way the flowers are facing.
Don’t be afraid to take time and experiment with different placements until you’re completely happy. With the chicken wire base, it’s easy to remove stems and try them somewhere else. Take a step back and view the arrangement at different angles; you could even take photographs to get fresh perspectives as you work to ensure you’re not missing any gaps that need to be plugged.
Step 6
To keep your spring arrangement looking fabulous for as long as possible, keep it well watered with a long-spouted watering can – and enjoy!


Flowers used to create our Spring bowl arrangement included:
- 1 bunch of pittosporum
- 1 bunch of olive
- 5 stems of white blossom
- 4 stems of white roses (casa blanca)
- 8 stems of white Ranunculus
- 8 stems of white double tulips
- 6 stems of paperwhites
- 10 stems of white freesia